

Sweat the Details
Fillets, Rounds, and Chamfers
Fillets, Rounds, and Chamfers are three common geometrics used in design and engineering. They strengthen parts by reducing stress concentrations along corners and edges and soften the look and feel. There's sometimes ambiguity between these terms, but in 2.00b (and at MIT), we often use these definitions:
- Fillets are roundings of a part in interior edges or corners.
- Rounds are roundings of a part in exterior edges or corners.
- Chamfers are bevels that are added to edges or corners. They are different from fillets and rounds as they produce flat surfaces instead of curved ones.
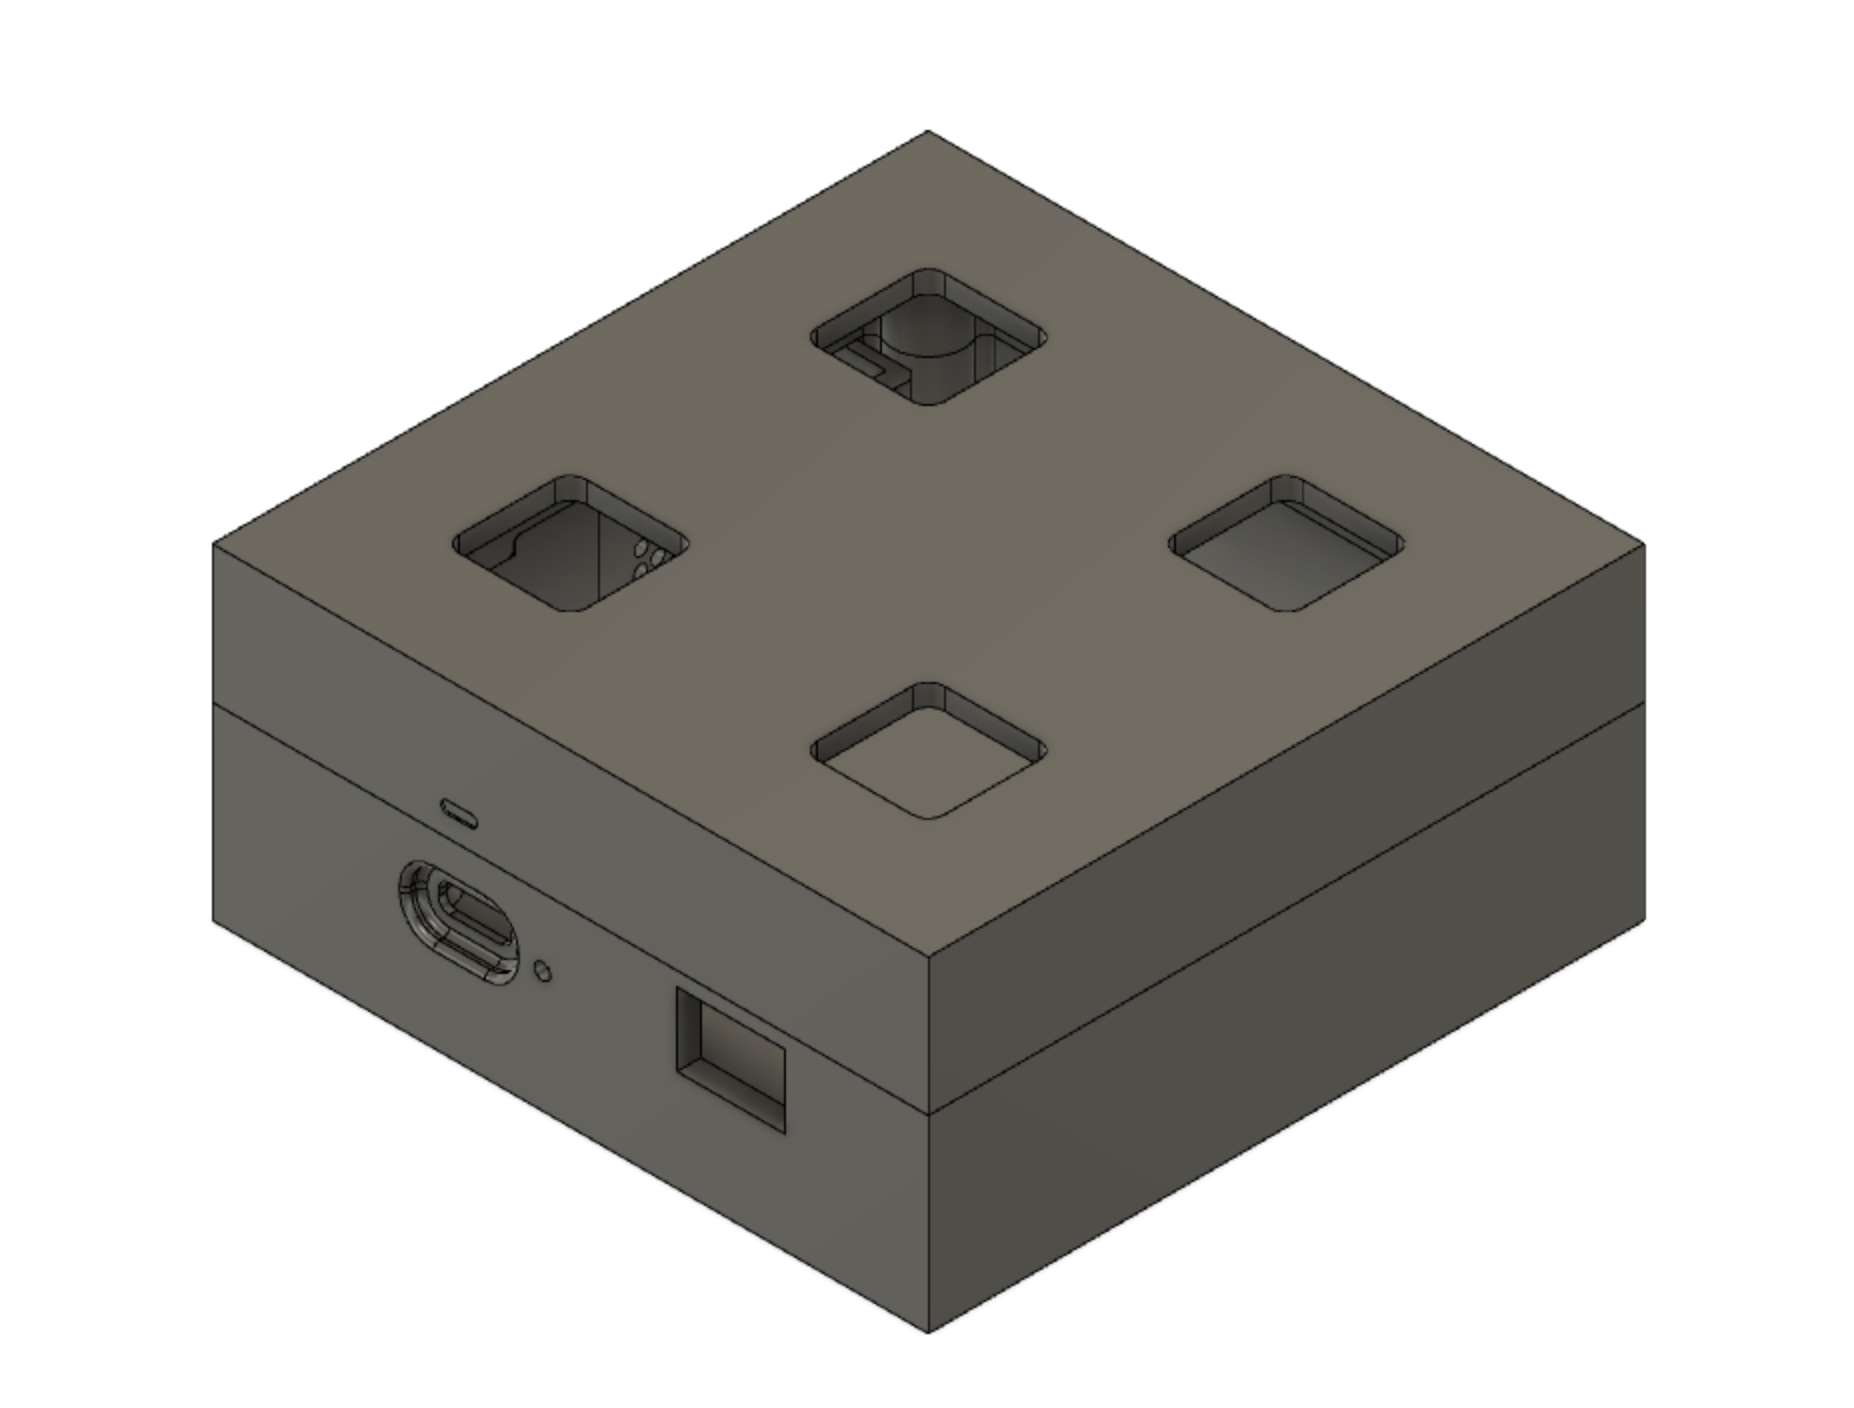
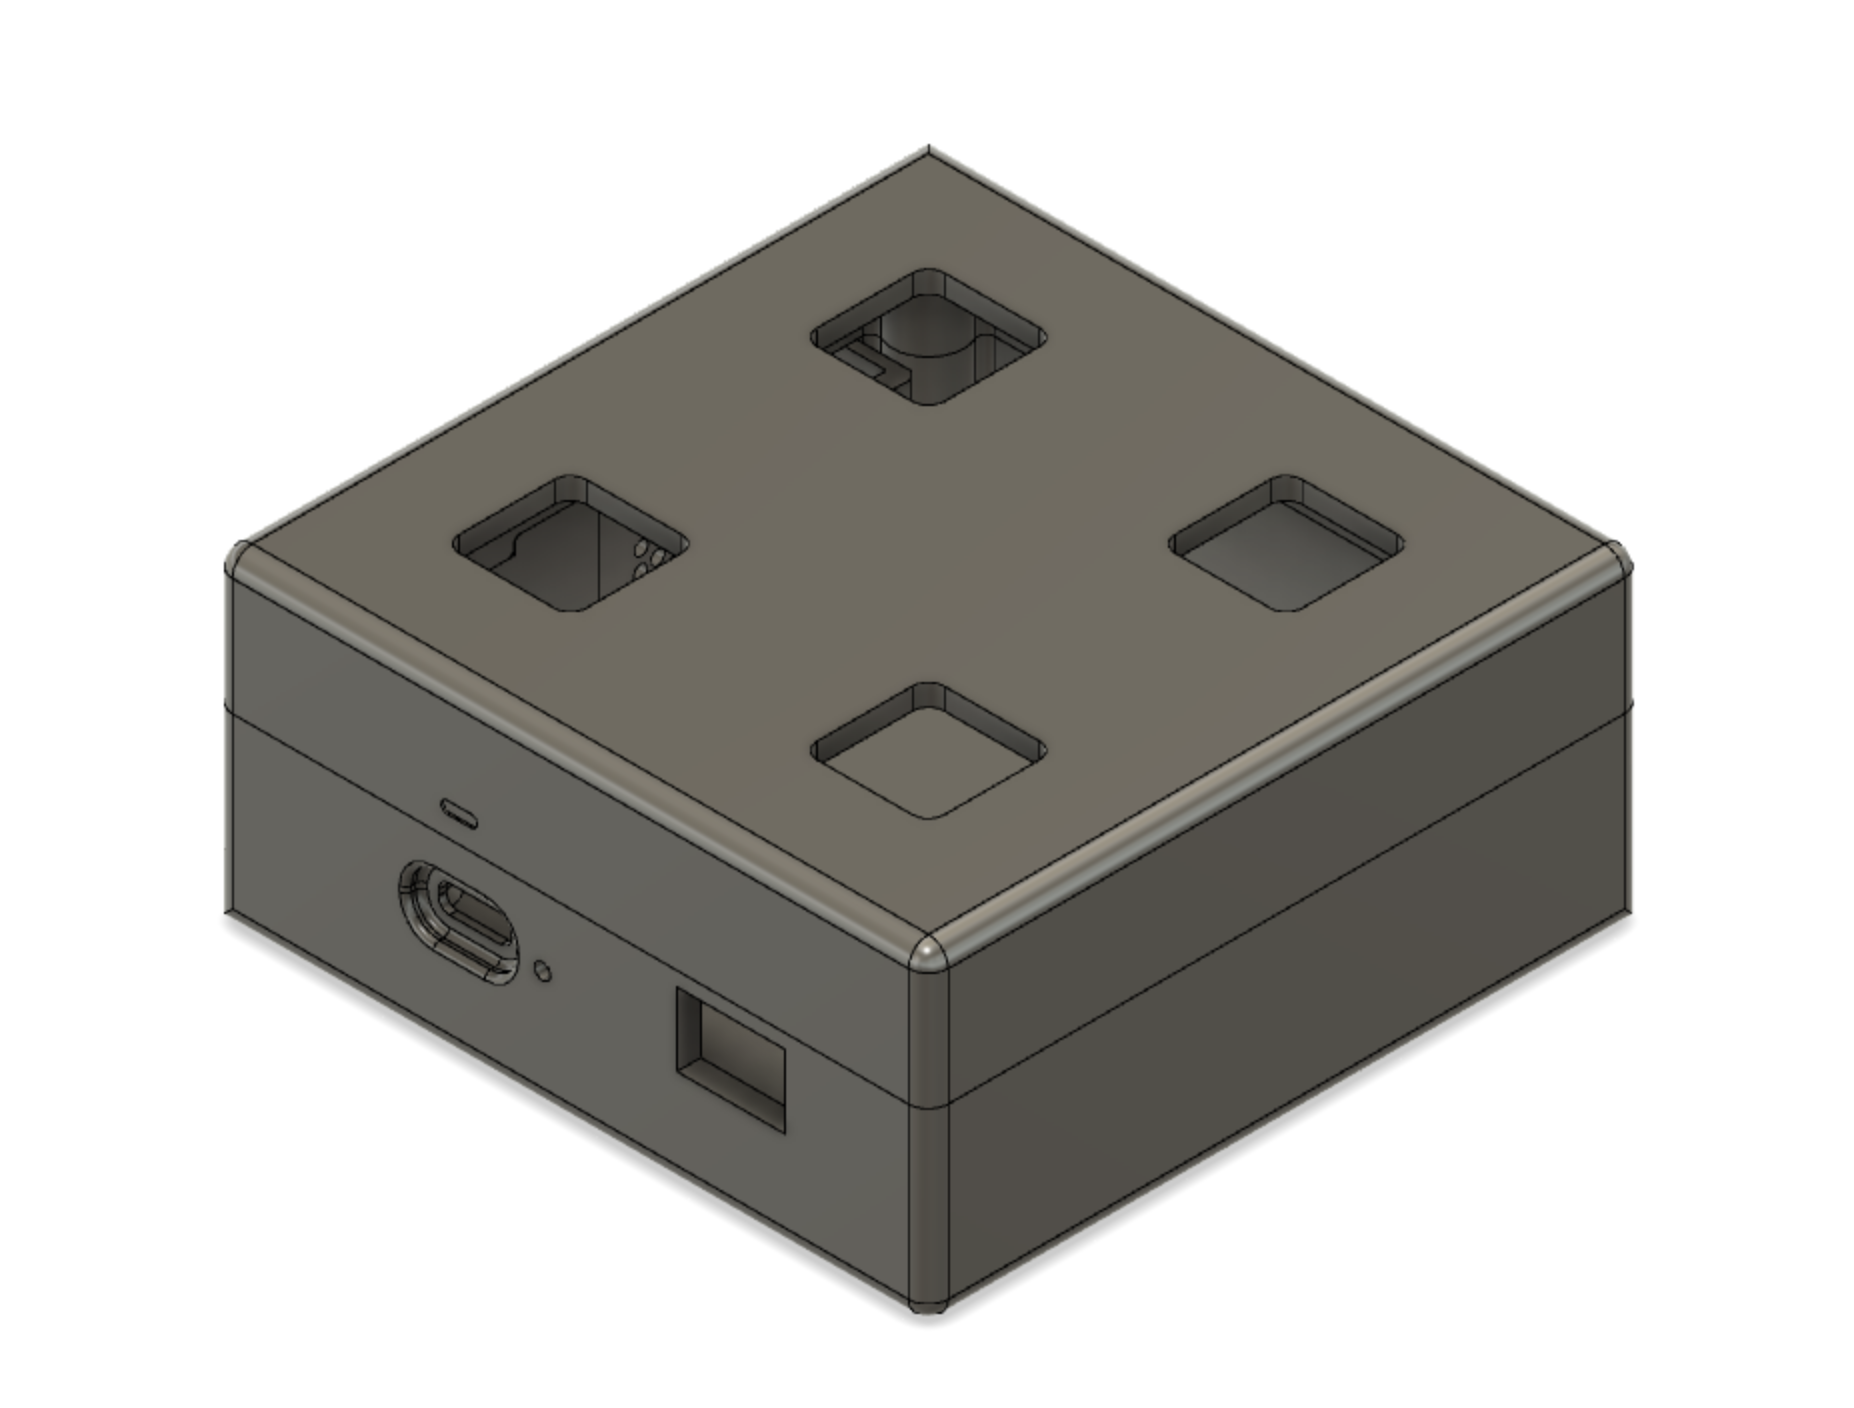
As we are making a toy that will be handled frequently, we want to soften the edges to prevent them from hurting us. We can achieve this by addings rounds to all the edges of our Toobers.
To round all the edges, select all edges. There should be 16, not 12 (the Toober is cut in half and is actually two pieces). Click the Modify > Fillet button and give it a nice round of something between 1mm and 5mm. Do not exceed 5mm. If you do (for this particular edge), some of the inner features will be exposed 😳!

You'll want to make sure your submission has appropriate fillets, but it may not be the first thing you want to do. It's often easier to make these details at the end, as it preserves straight edges and lines which are easier to sketch and extrude from.
The Parting Line
Our Toobers are assembled in two parts. Where the top and the bottom meet is know as the parting line. Depending on the manufacturing process, this feature can either be very obvious or nearly invisible.
If you've ever played with a cheap plastic toy, you've seen a parting line running along its circumfirence. This is where the mold for the injection plastic joined together. Higher end plastic goods try to hide this line to the best of their ability, but you can usually find it.

On the other hand, some metal manufacturing techniques can achieve tolerances that are tight enough to make the parting line invisible.

Since we cannot hide our parting line, we can choose to feature it instead. In fact, oftentimes, product designers and industrial designers will intentionally incorporate parting lines into the design. Below is an example of an Xbox controller featuring an intentional parting line design between two surfaces.

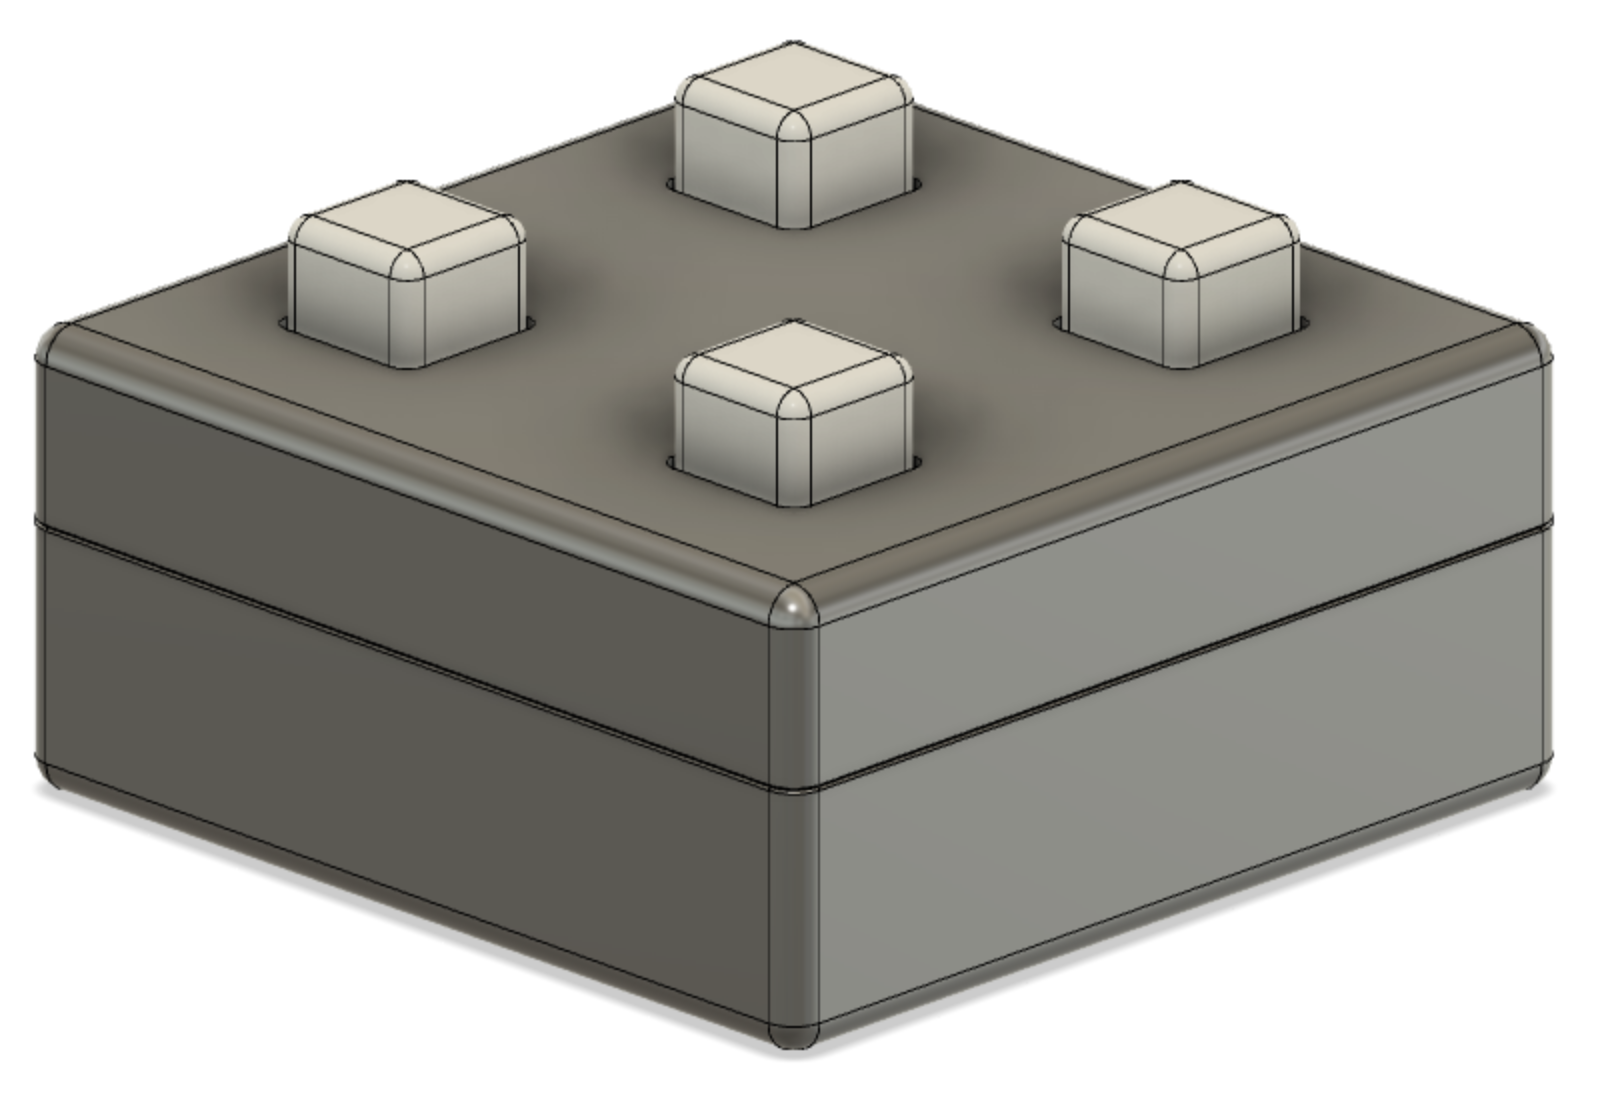
For our Toobers, consider adding a very slight 0.2 to 0.4 mm chamfer to the edges where our two housings (top and bottom) meet up.
Similar to the fillet tool, select all the edges you want to be chamfered. In this case, it might be easier to do the top and bottom housing separately (you can hide them one at a time). Here's what an example Toober looks like with a 2.5mm chamfer applied to the seam between the two halves.
Here are some close-ups of the parting line.


A Pop of Color
Colors play a large role in how we perceive the world. More importantly color can have a significant impact on how people perceive and interact with your toy. Certain colors can evoke different emotions and have psychological effects. For example, red is often associated with excitement or passion, while blue is often associated with calmness or trustworthiness. The shade of color you choose can also influence people. Bright and bold colors are more eye-catching and appealing, while muted or neutral colors may convey a more sophisticated look.
- Click
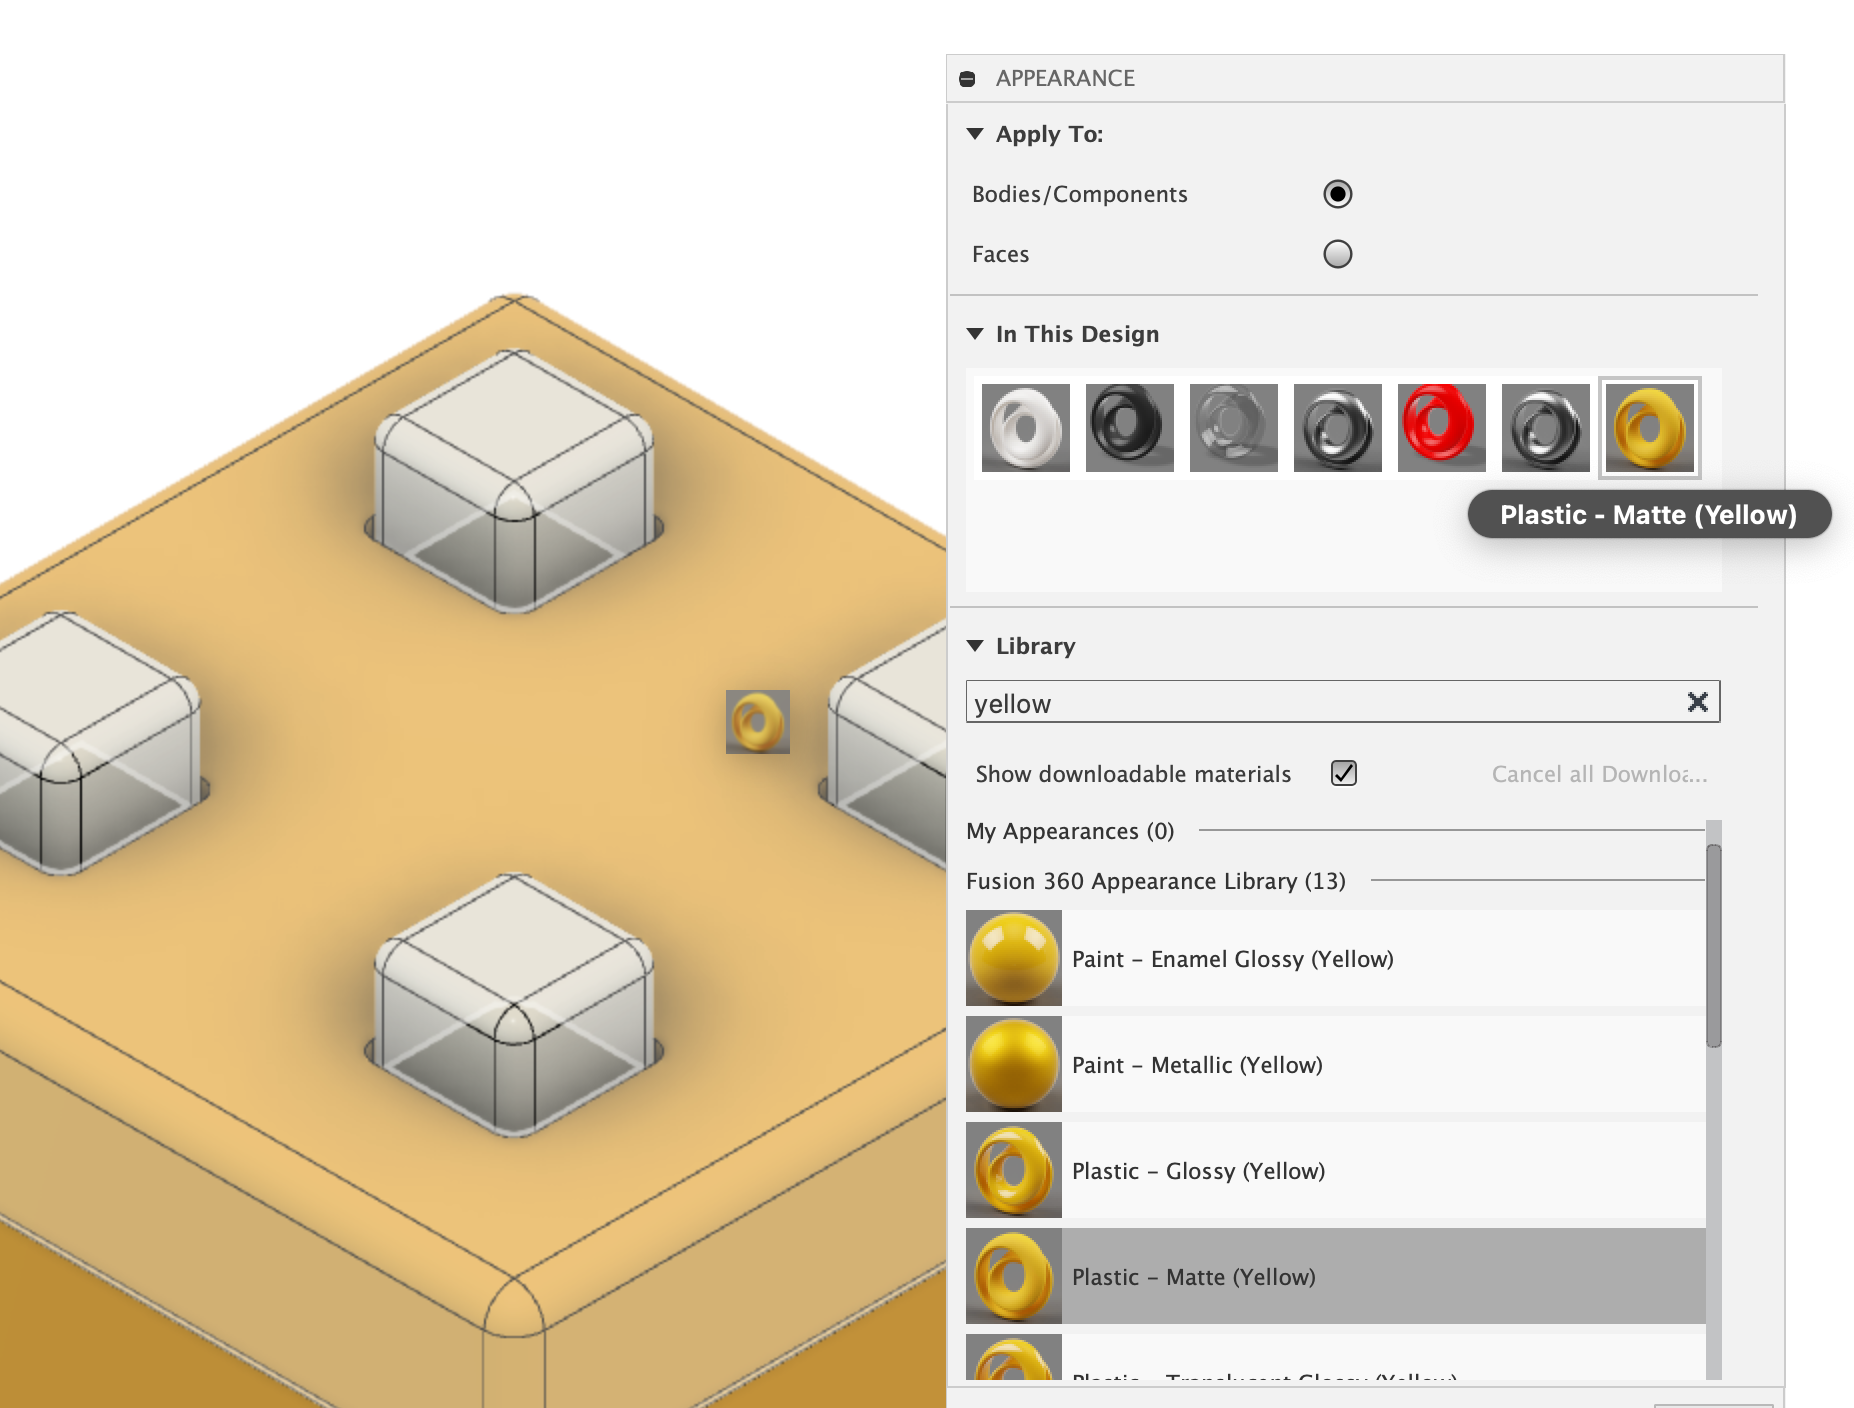
Modify > Appearance - Select between
Bodies/ComponentsandFaces Bodies/Componentswill colorize every face of the selected body/component, as well as the inside of the body/component.Faceswill only color the selected face- Scroll through
Libraryand find a material you like. You also are not limited to the colors/materials in the library. You can duplicate and double click on the selected material to change it's properties/colors - Click and drag the material onto part or face you would like to update
- When the highlight is over what you want to change, let go of your click
Keepin' it Grayscale
If you're not thinking of adding color to your Toober, keep in mind you can also just have a grayscale Toober. Grayscale designs can be simple and elegant, allowing the design and the textures to speak for itself. The lack of color can also create a sense of sophistication and timelessness.
If you choose this route, we'll print your Toober on the J35.
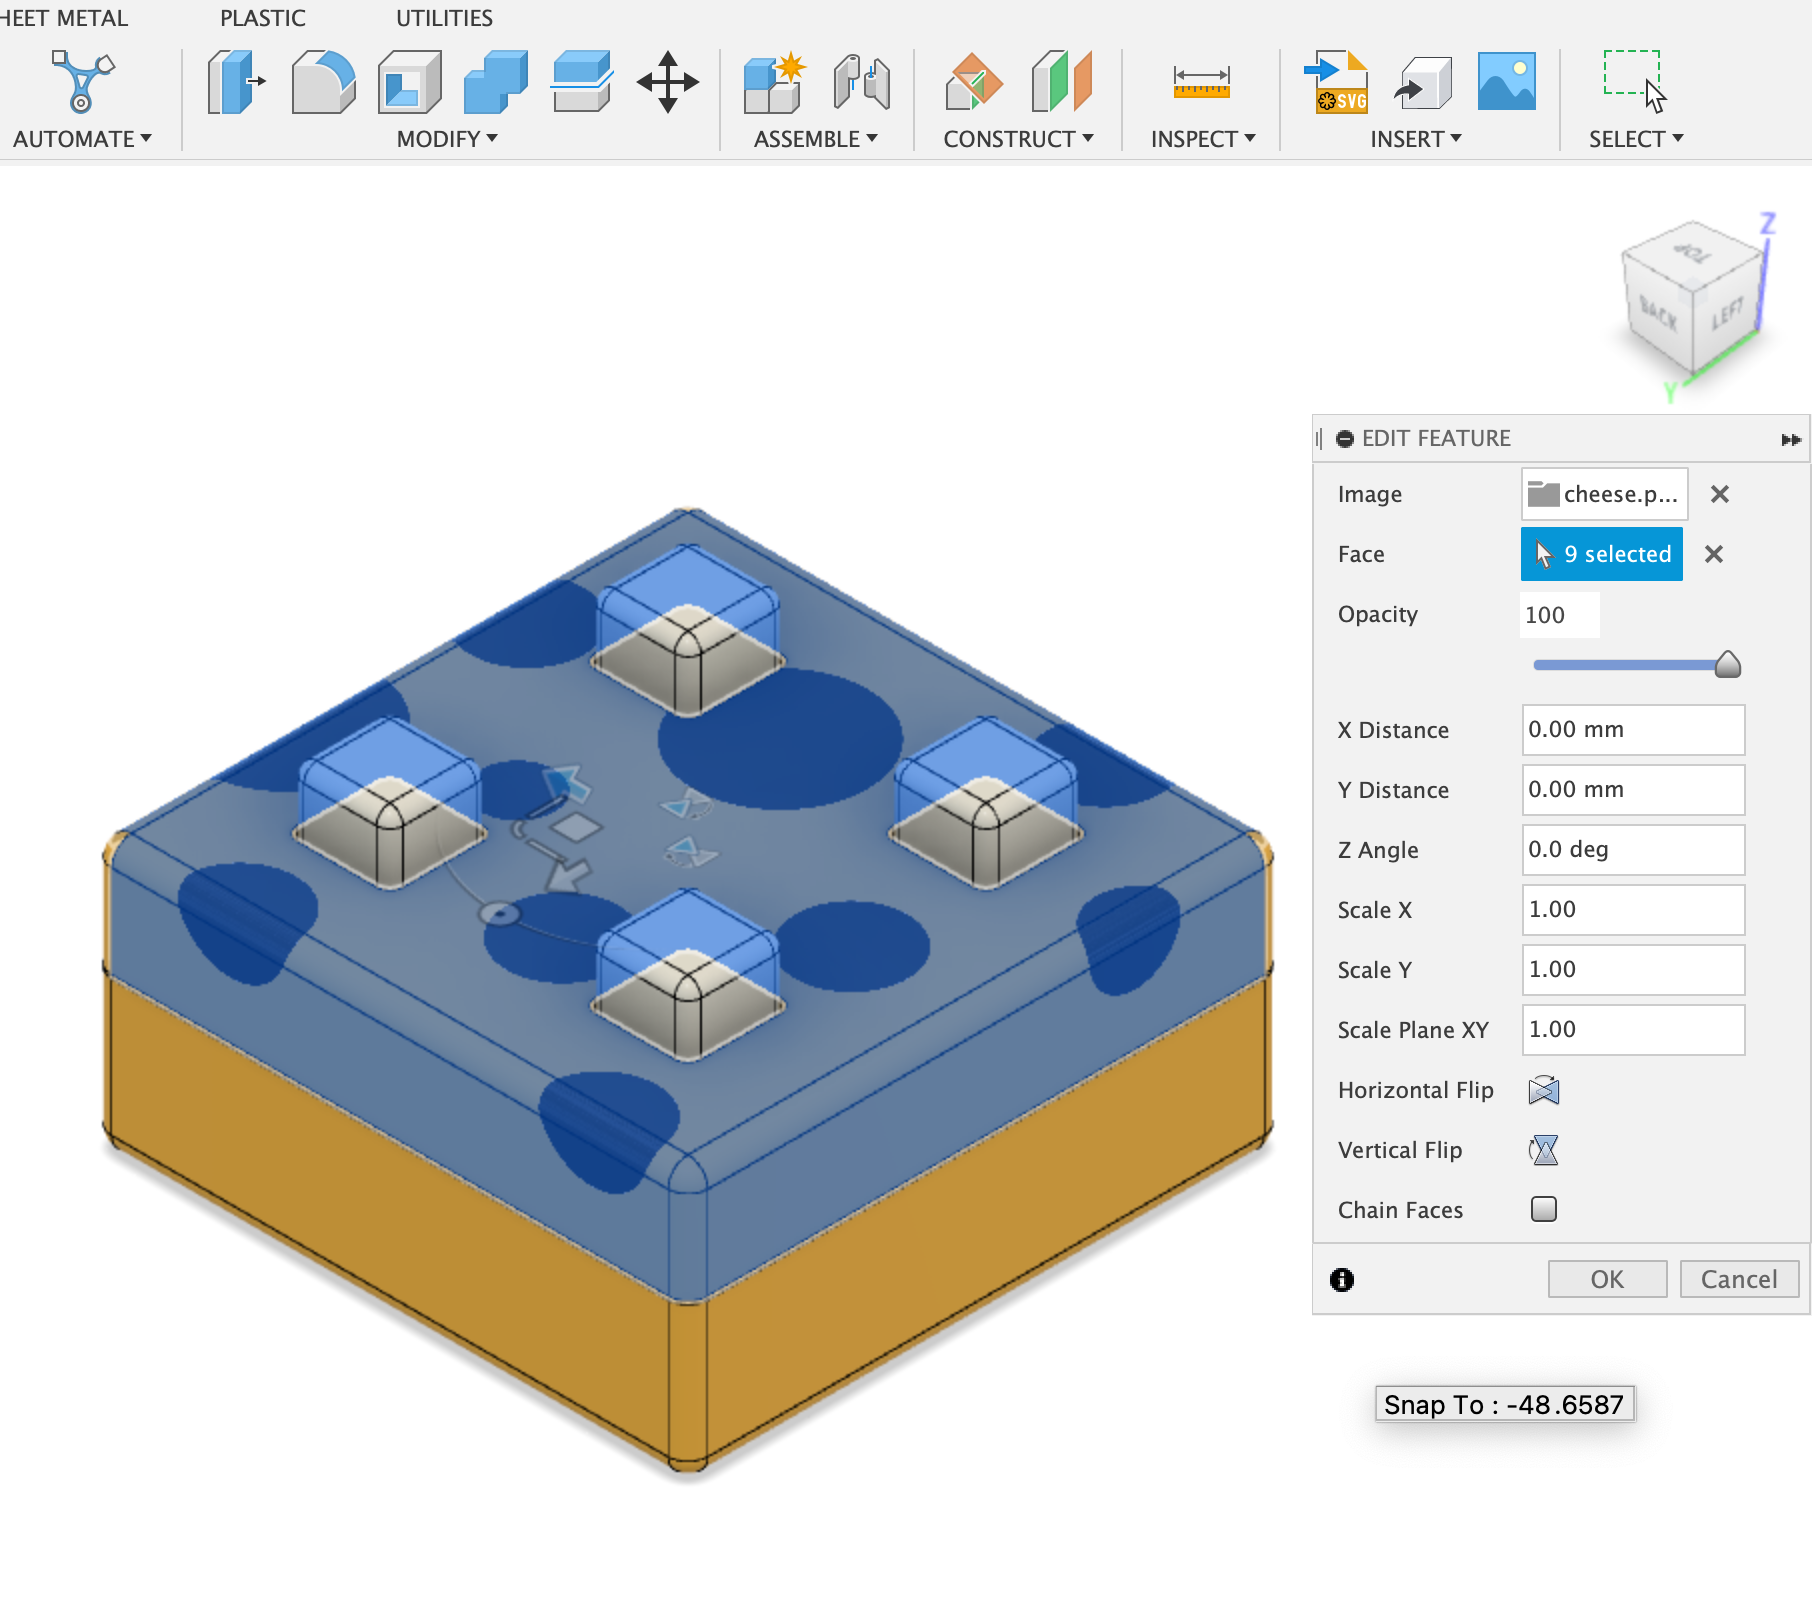
Add a Decal
While we can do a lot with just color and texture, sometimes you will want your design to be a little more personal. If you want to add a logo or graphic to your Toober, decals are what you are looking for!
- Create or find an image you would like to add and save it to your computer
- Position your part so that you can see where you would like to place your image
- Left click on the face you would like to add your image to select it
- Click
Insert > Decal - Click the image icon on the Decal Dialog
- Navigate to the where you saved your image and select your image
- Click
Openand clickOK - Click on the decal to select it
- Right-click and select
Edit Decal - Use the
Rotatemanipulator to change the angle - Use the
Scalemanipulator to change the size - Use the
XY Planemanipulator to change the position - Click
OKto accept the changes
Let's say we wanted to apply this hole-filled decal image to the yellow block. This image was made in Illustrator, and was as simple as drawing a few circles (which you should have plenty of in your sketchbooks as well.) This image as a .png such that the background is transparent.

Following the steps above, in the decal dialog, there's also an option to 'chain faces'. Sometimes it works better to leave this box unchecked and select multiple faces when you apply the decal.

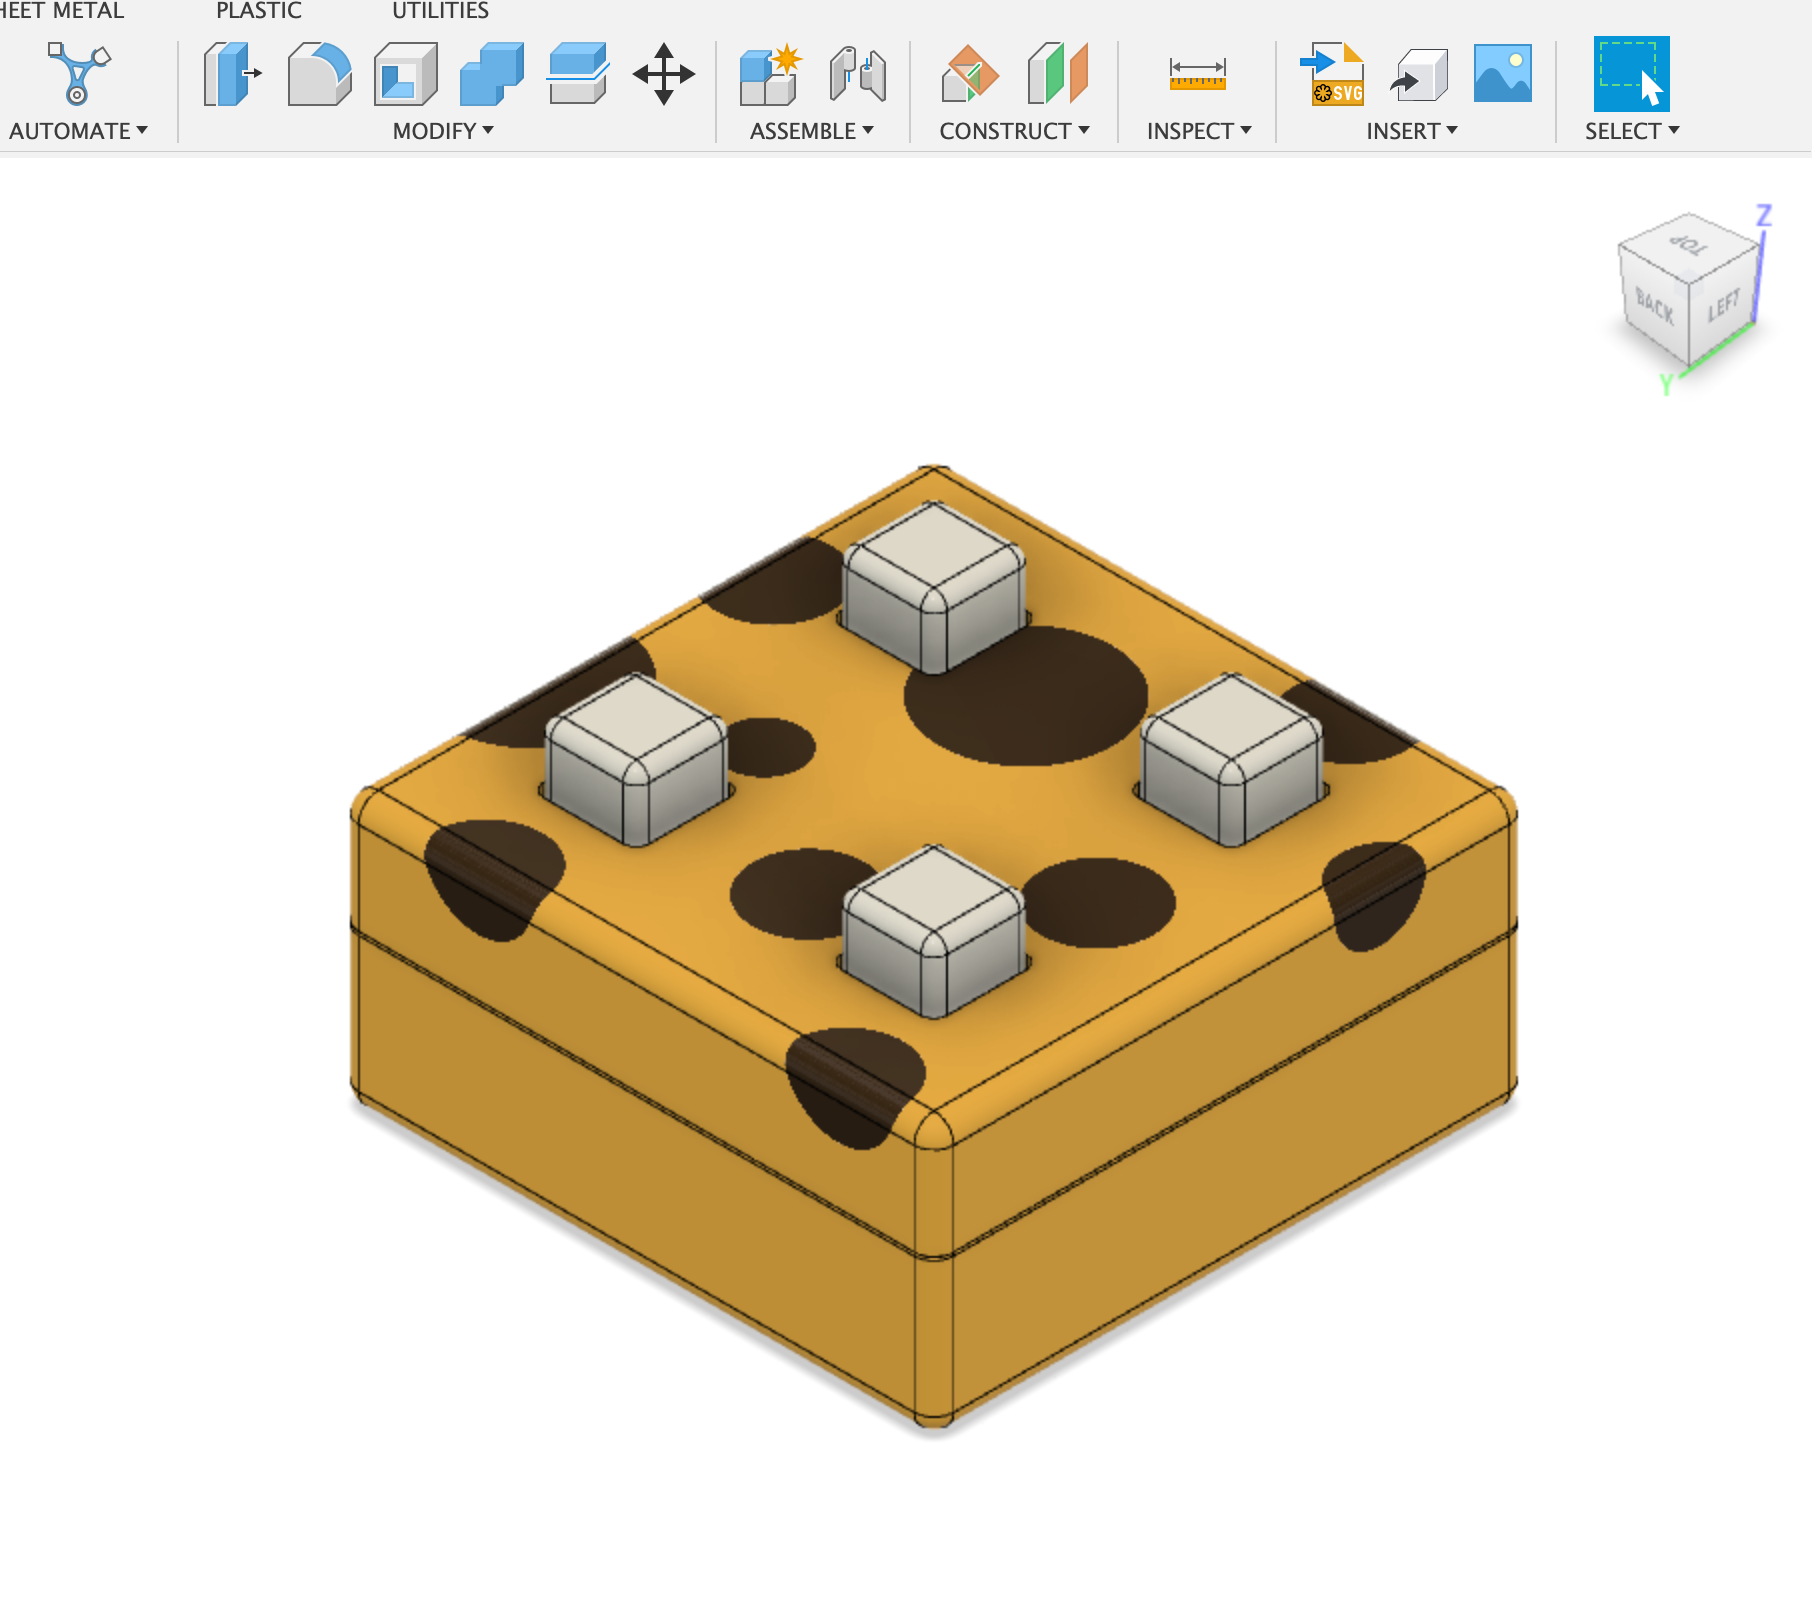
And now we have the beginning of a cheese Toober!
Please keep in mind that decals need to be re-applied when the print is setup. Please include no more than 5 individual decals, and be sure to include high-quality graphic files for your decal with your submission (which you'll learn more about on the next page!).