

Ingredients for Lab 2
Bon Appétit!
What's Due
Welcome to lab 2! Today, you'll be prototyping your Toobers toy with a breadboard and some simple electronic components. By the end of this lab, you should have a playable version of your Toobers toy on a breadboard! If you don't finish in time, no worries - there will be staffed lab hours during the week where you can finish up the breadboard.
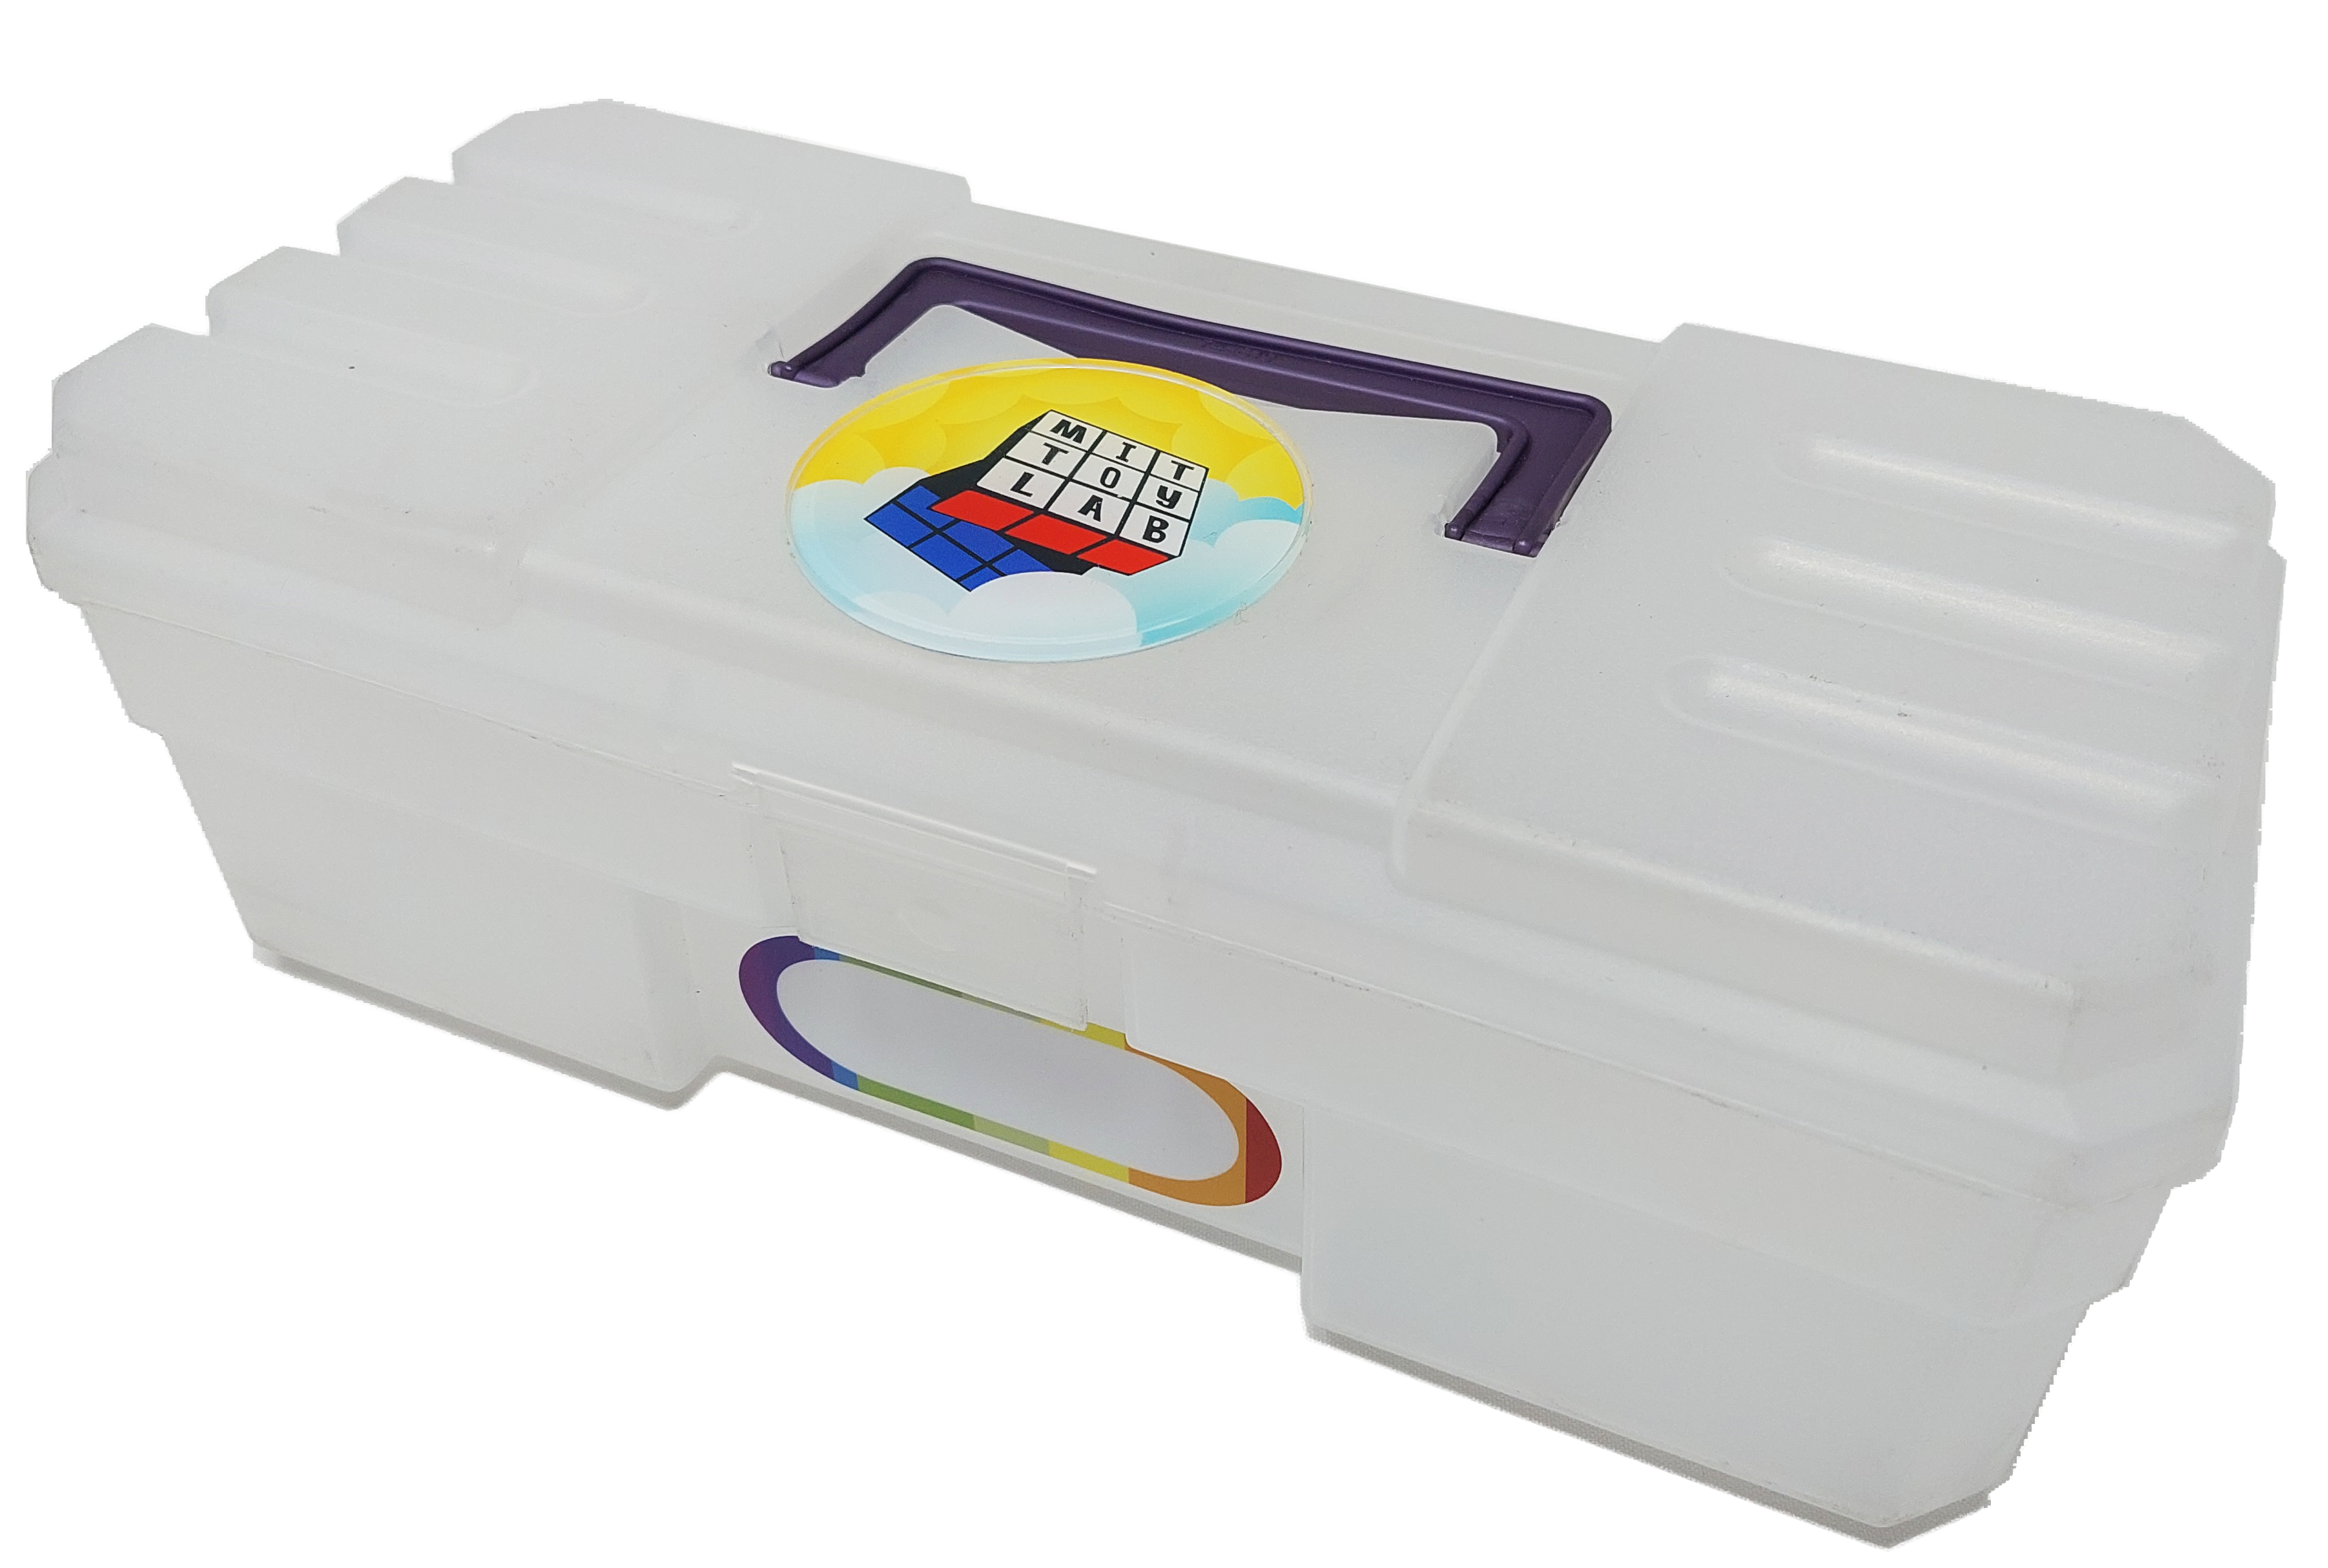
You'll notice in front of you is a nice, semi-transparent 2.00b Toolbox. You can use this handy carrying case to hold all of your Toobers-related parts. To start, write your name on your toolbox in the blank, pill-shaped space in the front.
The first part of this lab will be a team activity.
In front of you are 9 containers which each contain a couple of electronic components. Pick one team member, and have them open container #1. Briefly discuss this item, if any of you've used it before, and help each other understand how to use the item and where to go for more information.
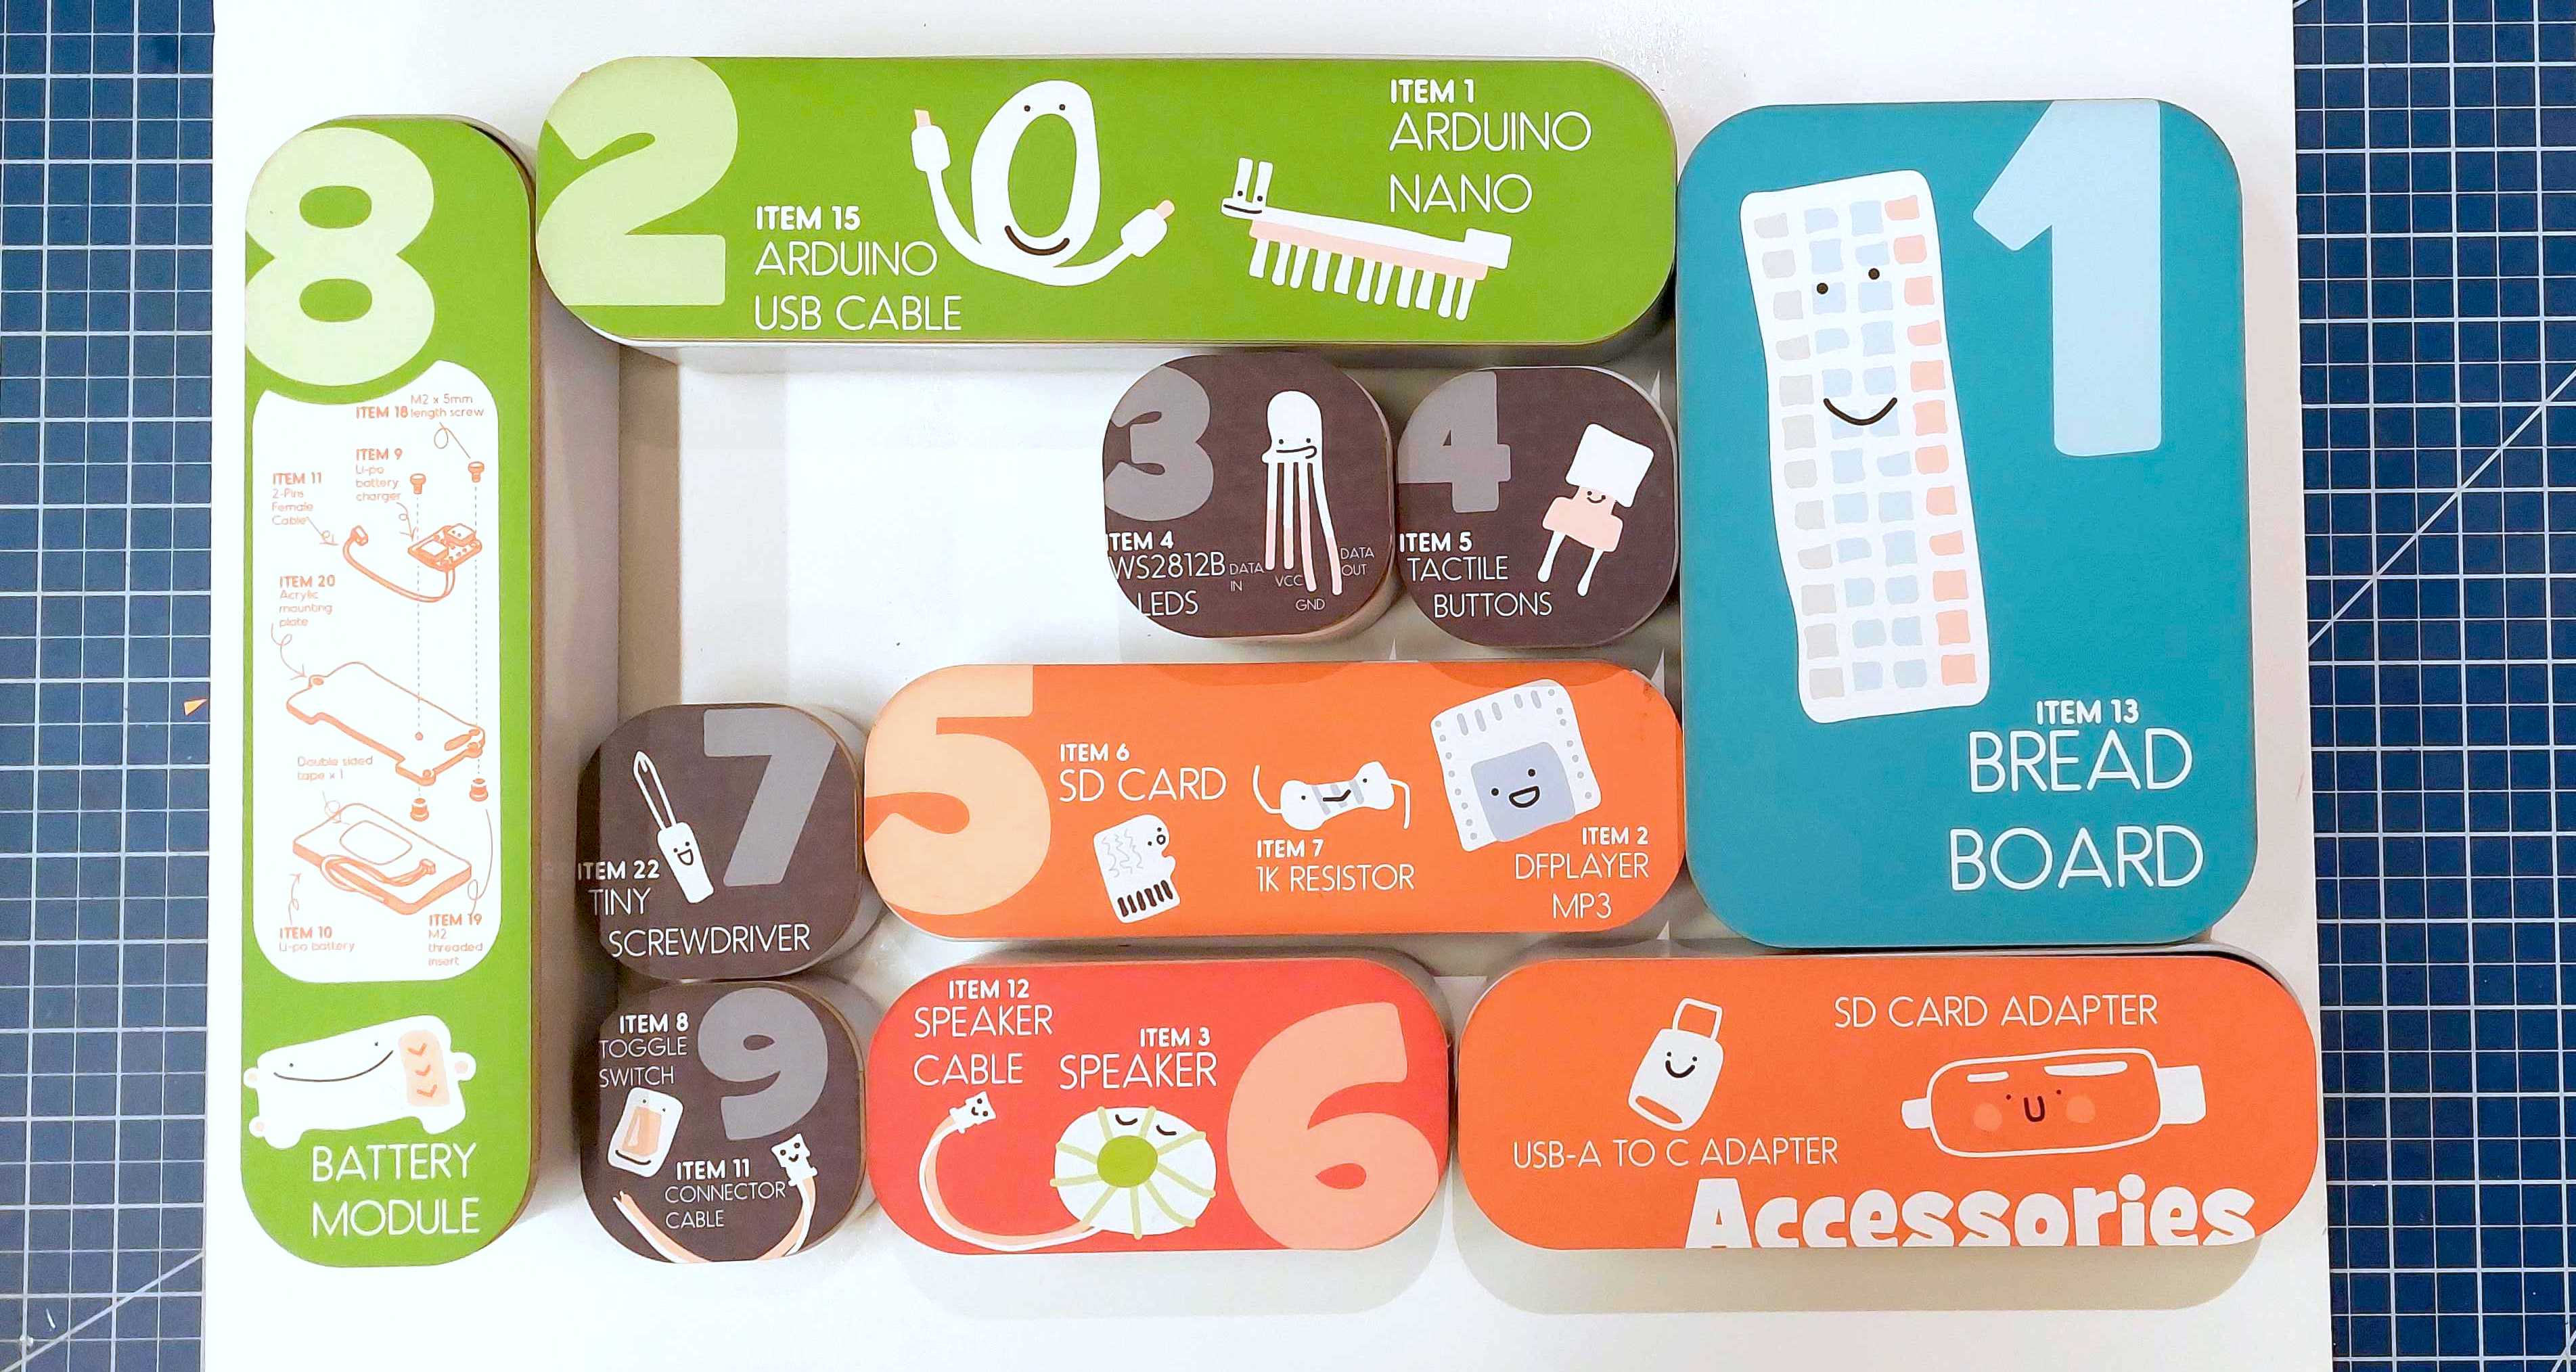
Pick another team member, and repeat for containers 2-9 in order (some of you might have to go multiple times.) If nobody really understands what they're looking at, your instructor and/or mentor should chime in and give a quick overview!
Once the entire team has completed this section together, feel free to each proceed at your own pace.